Craftsman Lawn Mower Manual: A Comprehensive Guide
Navigating Craftsman mower operation, maintenance, and troubleshooting is now easier! This guide offers detailed insights into various models,
including the 536.270320 and D 3000, alongside Briggs & Stratton engine specifics.
Craftsman lawn mowers have long been a staple for homeowners seeking reliable and efficient lawn care solutions. From classic push mowers to robust riding models like the D 3000, Craftsman offers a diverse range to suit various lawn sizes and needs. Understanding your mower, however, begins with accessing the correct documentation.
This comprehensive guide aims to simplify the process of finding and utilizing Craftsman lawn mower manuals. Resources like the Internet Archive provide free downloads for older models, such as the 536.270320 with its 13.5 HP engine. Proper maintenance, guided by these manuals, ensures longevity and optimal performance, covering everything from oil changes to blade sharpening.
Understanding Model Numbers
Craftsman model numbers are crucial for identifying the correct parts and accessing the appropriate documentation; Numbers like 536.270320 specifically pinpoint a 13.5 HP, 30-inch deck mower, enabling targeted searches for operators manuals and replacement components. Similarly, knowing you have a Craftsman D 3000 riding mower narrows down the relevant resources considerably.
These numbers often correlate with engine specifications, such as the 126TO2-O795B1 engine found in some models. Deciphering these codes allows users to locate detailed information on the Internet Archive and Craftsman’s support channels, ensuring accurate maintenance and repair procedures are followed. Accurate identification prevents using incorrect parts or instructions.
Locating Your Specific Manual
Finding the right manual for your Craftsman lawn mower is simplified through several online resources. The Internet Archive offers a vast collection, including the 536.270320 operator’s manual, available for free download, borrowing, or streaming. Manualzilla and similar sites also host numerous Craftsman mower manuals, categorized for easy access.
Craftsman’s official customer support channels are another valuable source. Utilizing your model number (e.g., 247.38908) during your search will yield the most accurate results. These resources provide detailed guides for operation, maintenance, and troubleshooting, ensuring you have the information needed to keep your mower running smoothly and safely.

Safety First: Operating Procedures
Prioritize safety! Always perform pre-operation checks, understand starting and stopping procedures, and practice safe mowing techniques for optimal performance and user well-being.
Pre-Operation Checks
Before each use, a thorough inspection is crucial for safe and efficient operation. First, ensure the lawn and surrounding area are clear of objects and people. Check the oil level, adding if necessary, and inspect the air filter for cleanliness – a dirty filter restricts airflow.
Verify the blade is securely attached and sharp; a dull blade tears grass instead of cutting it cleanly. Examine the fuel lines for leaks or damage. Confirm all safety shields and guards are in place and functioning correctly. Finally, inspect the tires for proper inflation and any signs of wear.
These simple checks minimize risks and maximize the lifespan of your Craftsman lawn mower.
Starting the Engine
Proper starting procedures ensure reliable engine ignition and prevent potential damage. Begin by ensuring the parking brake is engaged. For cold starts, prime the engine by pressing the primer bulb several times – typically 3-5 pumps.
Set the throttle to the “choke” position, if applicable, and grasp the starter grip firmly. Pull the starter cord with a smooth, controlled motion; avoid jerking. Once the engine sputters, gradually move the throttle to the “run” position.
If the engine doesn’t start after several attempts, consult the troubleshooting section. Always maintain a firm grip and avoid wrapping the cord around your hand.
Stopping the Engine
Safely shutting down your Craftsman mower is crucial for preventing accidents and maintaining equipment longevity. The primary method involves disengaging the blade by releasing the blade control lever on the handle.
Simultaneously, reduce the throttle to the “idle” position. Allow the engine to run briefly at idle to cool down before completely stopping it.
To fully stop the engine, disengage the ignition switch – typically by moving the key to the “off” position. Ensure the blade has completely stopped rotating before approaching the mower deck. Never leave a running mower unattended.
Safe Mowing Practices
Prioritizing safety during lawn care is paramount when operating your Craftsman mower. Always inspect the mowing area for obstacles like rocks, toys, and wires before starting. Keep children and pets well clear of the mowing zone.
Wear appropriate safety gear, including sturdy footwear and eye protection. Avoid mowing in wet conditions, as slippery surfaces increase the risk of accidents.
Mow across slopes, not up and down, to prevent loss of control. Never attempt to adjust the mower while the engine is running, and always disengage the blade before any maintenance.

Maintenance & Upkeep
Regular maintenance ensures optimal performance and extends the life of your Craftsman mower. Key tasks include oil changes, air filter cleaning, and blade care.
Oil Change Procedures
Maintaining proper oil levels is crucial for engine longevity. Begin with a warm engine, but not hot, and disconnect the spark plug wire for safety. Locate the oil drain plug, typically underneath the engine, and position a drain pan. Carefully remove the plug, allowing the old oil to fully drain.
Once drained, replace the plug and tighten securely. Next, locate the oil fill cap and add the recommended oil type and quantity, as specified in your model’s manual – often around 18-20 ounces. Check the oil level with the dipstick, ensuring it falls within the ‘full’ range. Finally, reconnect the spark plug wire and start the engine briefly to circulate the new oil. Properly dispose of the used oil at a designated recycling center.
Air Filter Cleaning & Replacement
A clean air filter ensures optimal engine performance and prevents damage. First, locate the air filter housing, usually near the engine. Disconnect the housing and remove the filter. If the filter is paper, gently tap it to remove loose debris; do not wash it. For foam filters, wash in warm, soapy water, rinse thoroughly, and allow to dry completely before re-oiling lightly with air filter oil.
Inspect the filter for tears or damage. If damaged, replace it with a new one matching your model number. Reinstall the cleaned or new filter into the housing, ensuring a proper seal. Regularly checking and maintaining the air filter – typically every 25 hours of use – will extend your mower’s life.
Spark Plug Maintenance
Maintaining the spark plug is crucial for reliable engine starting and efficient combustion. Periodically inspect the spark plug for fouling, wear, or damage. Disconnect the spark plug wire before removal, using a spark plug wrench to avoid damaging the threads. Check the gap using a feeler gauge; the correct gap specification is found in your owner’s manual.

Clean a fouled plug with a wire brush or replace it if heavily worn or damaged. When installing a new spark plug, apply a small amount of anti-seize compound to the threads. Tighten the spark plug to the manufacturer’s specified torque. Regular spark plug maintenance, typically annually, ensures optimal engine performance and prevents starting issues.
Blade Sharpening & Balancing
A sharp, balanced blade is essential for a clean cut and mower longevity. Regularly inspect the blade for dullness, nicks, or bends; Disconnect the spark plug wire before removing the blade! Secure the blade and use a metal file or grinding wheel to sharpen the cutting edges, maintaining the original angle.
After sharpening, balance the blade using a blade balancer. An unbalanced blade causes excessive vibration and can damage the mower. If the blade is severely damaged or worn, replace it with a new one. Always reinstall the blade correctly, ensuring it’s securely tightened to the specified torque.

Troubleshooting Common Issues
Resolve typical problems like starting failures, uneven cuts, vibrations, and overheating. This section provides diagnostic steps for a smoothly running Craftsman mower.
Engine Won’t Start
If your Craftsman lawn mower engine fails to start, several factors could be at play. First, verify the fuel tank isn’t empty and the fuel shut-off valve is open. Check the spark plug – ensure it’s clean, properly gapped, and securely connected. A fouled or damaged spark plug prevents ignition.
Next, examine the air filter; a clogged filter restricts airflow, hindering starting. Confirm the safety interlock switches are functioning correctly – these prevent starting unless engaged. Lastly, inspect the engine oil level; low oil can trigger a safety shutdown. If these steps don’t resolve the issue, the carburetor might require cleaning or professional attention.
Uneven Cut
An uneven cut with your Craftsman lawn mower often indicates blade issues. Dull blades tear grass instead of cleanly cutting it, resulting in a ragged appearance. Sharpening or replacing the blade is crucial. Ensure the blade is correctly balanced after sharpening to prevent excessive vibration and further damage.
Also, check the deck level – an uneven deck causes inconsistent cutting heights. Verify tire pressure; unevenly inflated tires can tilt the deck. Finally, mowing speed impacts cut quality; moving too quickly overwhelms the blade. Adjust your pace for thicker grass. A buildup of grass clippings under the deck can also contribute to an uneven finish.
Excessive Vibration
Significant vibration during operation signals a problem needing immediate attention. An unbalanced blade is a primary culprit; after sharpening, always confirm proper balance using a blade balancer. Loose or damaged blade bolts can also cause severe shaking – inspect and tighten or replace them as needed. Check the engine mounting bolts; ensure they are securely fastened to the mower deck.
Furthermore, worn or damaged bearings within the blade spindle assembly contribute to vibration. Inspect these bearings for play or roughness. Finally, debris lodged under the deck can create imbalance; thoroughly clean the underside of the mower.
Overheating Problems
Consistent overheating indicates a cooling system malfunction or excessive engine strain. The most common cause is a clogged air filter, restricting airflow and causing the engine to work harder. Regularly clean or replace the air filter as part of routine maintenance. Low oil levels also contribute to overheating; always check and maintain the correct oil level.

Inspect the cooling fins on the engine for debris buildup, hindering heat dissipation. A faulty cooling fan or a malfunctioning thermostat can also lead to overheating. Ensure the fan operates correctly and consider thermostat replacement if suspected.

Parts & Components
Essential components include the blade, deck, and engine—often Briggs & Stratton. Understanding these parts, handle assemblies, and their adjustments is crucial for maintenance.
Identifying Key Parts (Blade, Deck, Engine)
Disassembling and understanding a Craftsman lawn mower requires identifying its core components. The blade, responsible for cutting the grass, demands regular inspection for sharpness and balance. The deck, or chassis, houses the blade and protects the operator. Different models, like the 30-inch deck on the 536.270320, will have varying deck constructions.
Crucially, many Craftsman mowers utilize Briggs & Stratton engines. Recognizing engine specifics – model numbers like 126TO2-O795B1 – is vital for parts replacement and maintenance. Key parts beyond these include the lower and upper handles, essential for control and maneuverability. Familiarizing yourself with these components streamlines repairs and ensures safe operation.
Understanding Briggs & Stratton Engines
Briggs & Stratton engines are a cornerstone of many Craftsman lawn mowers, powering models from the basic rotary 944 to the robust D 3000 riding mower. Identifying the specific engine model number, such as 126TO2-O795B1, is paramount for accurate parts sourcing and repair procedures. These engines typically feature a four-stroke design, requiring regular oil changes with appropriate lubricants like Bynorm 4-Stroke Oil.
Understanding the engine’s components – carburetor, spark plug, and air filter – is crucial for maintenance. Proper air filter cleaning and spark plug upkeep ensure optimal performance. Familiarity with Briggs & Stratton’s documentation, alongside your Craftsman manual, will greatly assist in troubleshooting and extending the engine’s lifespan.
Handle Assembly & Adjustment
Proper handle assembly and adjustment are vital for comfortable and safe operation of your Craftsman lawn mower. Key components include the upper and lower handles, which contribute to ergonomic control. Initial assembly often involves securing these parts with bolts and ensuring proper alignment for optimal maneuverability.
Adjustment mechanisms allow users to customize the handle height and angle to suit their stature and preference. Regularly check for loose connections and tighten as needed. A secure handle provides enhanced control during mowing, reducing strain and improving overall safety. Refer to your specific model’s manual for detailed instructions on handle adjustments.

Specific Model Information
Detailed guidance for popular Craftsman models is provided here! Explore specifics for the 536.270320 (13.5 HP), the D 3000 riding mower, and the 944 rotary model.
Craftsman 536.270320 (13.5 HP, 30-inch Deck)
This model, featuring a 13.5 HP engine and a 30-inch deck, requires diligent upkeep for optimal performance. The operator’s manual, readily available for free download via the Internet Archive, details crucial safety procedures and operational instructions.
Specifically, it references engine model 126TO2-O795B1 and mower model 247.38908;
Regular maintenance, as outlined in the manual, includes checking oil levels, ensuring proper blade function, and maintaining a clean air filter.
Understanding these specifics will extend the lifespan of your Craftsman 536.270320 and ensure a consistently clean cut. Accessing the manual is key to responsible ownership and effective troubleshooting.
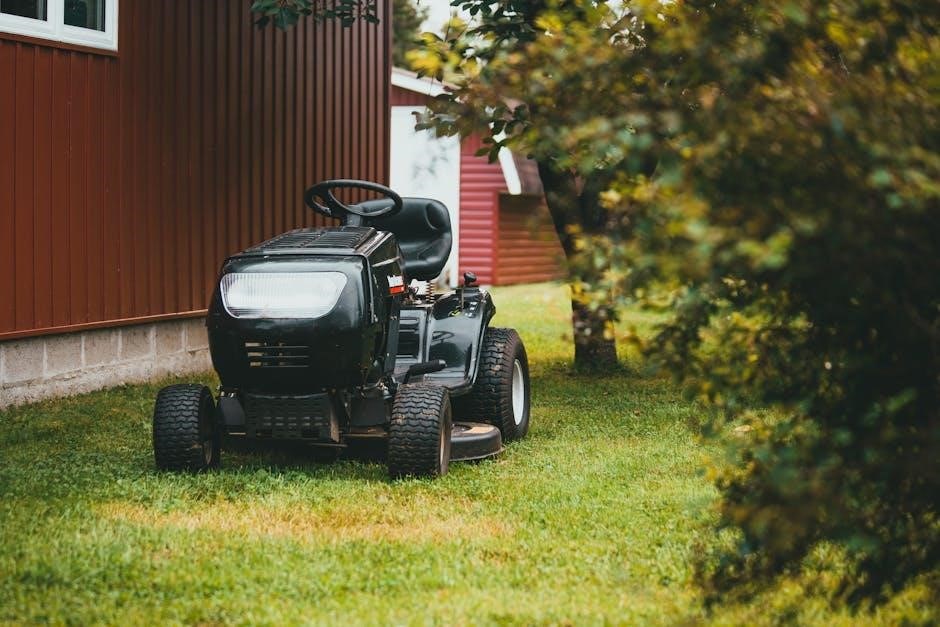
Craftsman D 3000 Riding Mower
The Craftsman D 3000 riding mower demands a thorough understanding of its components and maintenance routines. Documentation indicates information regarding parts and manuals is readily available online. Key areas to focus on, as detailed in associated resources, include the location of the engine oil drain for efficient oil changes.
Proper maintenance extends beyond oil changes; it encompasses regular checks of belts, tires, and the overall cutting deck.
Consulting available manuals ensures safe operation and addresses potential issues promptly. Familiarizing yourself with these details will maximize the performance and longevity of your D 3000.
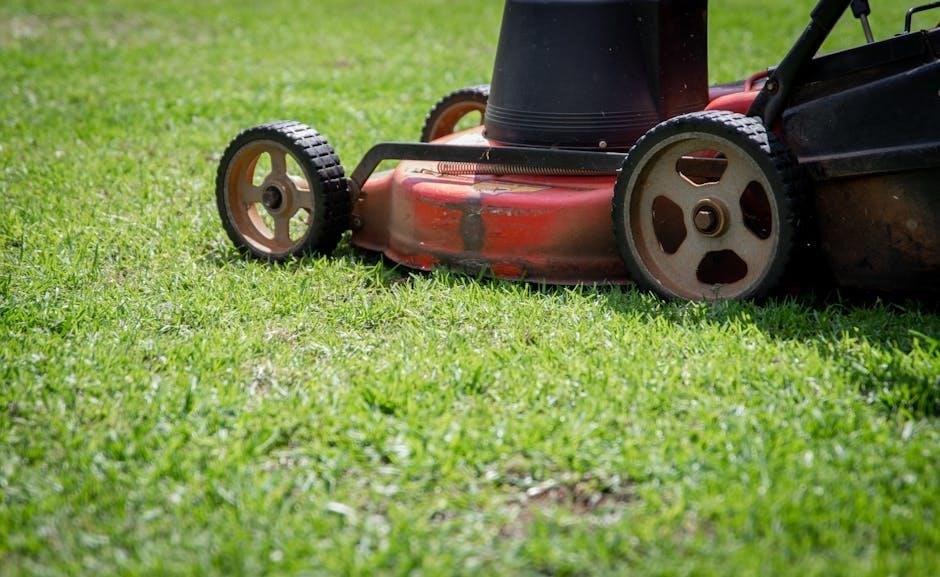
Craftsman 944 Rotary Lawn Mower
The Craftsman 944 Rotary Lawn Mower, a classic model, benefits from diligent maintenance guided by its dedicated manual. Available resources confirm a 12-page manual exists, offering detailed instructions for operation and upkeep. Proper oil selection, such as Bynorm 4-Stroke Oil, is crucial for engine health.
Regularly reviewing the manual ensures safe operation and optimal cutting performance. Understanding the mower’s components, from the blade to the engine, is key to effective troubleshooting and repair.
Consistent maintenance will prolong the life of this reliable rotary mower.
Resources & Support
Access online manual databases and Craftsman customer support for assistance! Find replacement parts easily, ensuring your mower stays in peak operating condition.
Online Manual Databases
Numerous online resources provide access to Craftsman lawn mower manuals, offering a convenient way to find information for your specific model. The Internet Archive, for example, hosts a wealth of older manuals, including the Craftsman 536.270320 operator’s manual, readily available for download or streaming. Manualzilla is another valuable source, compiling manuals for various lawn and garden equipment.
These databases often contain detailed diagrams, parts lists, and troubleshooting guides, empowering owners to perform maintenance and repairs independently. Searching by model number (like 247.38908) ensures you locate the correct documentation. Remember to verify the manual’s compatibility with your mower’s engine, such as the Briggs & Stratton 126TO2-O795B1, for accurate information.
Craftsman Customer Support
Directly contacting Craftsman customer support provides personalized assistance for your lawn mower needs. While specific contact details may vary, Craftsman typically offers support through their official website, providing access to FAQs, troubleshooting guides, and direct communication channels.
For complex issues or if you require assistance locating a specific manual – perhaps for a model like the D 3000 riding mower or the 944 rotary mower – reaching out to a representative is recommended. They can help verify model numbers, clarify operating procedures, and guide you towards appropriate parts or repair solutions. Remember to have your mower’s model and serial number readily available for efficient support.
Finding Replacement Parts
Sourcing replacement parts for your Craftsman lawn mower is crucial for maintaining its performance and longevity. Several avenues exist, beginning with the official Craftsman website, which often features parts diagrams and online ordering capabilities. Independent parts retailers specializing in lawn and garden equipment are also valuable resources.
When ordering, accurately identifying your mower’s model number (like 536.270320) is paramount. Knowing specific component details – whether it’s a blade, handle assembly, or an engine part related to Briggs & Stratton – streamlines the process. Online manual databases can assist in identifying the correct part numbers. Always verify compatibility before finalizing your purchase to ensure a proper fit and function.