Round Cake Serving Guide: An Overview
Planning a celebration? This guide details round cake sizes and servings, from intimate gatherings to large parties, ensuring everyone enjoys a delightful slice!
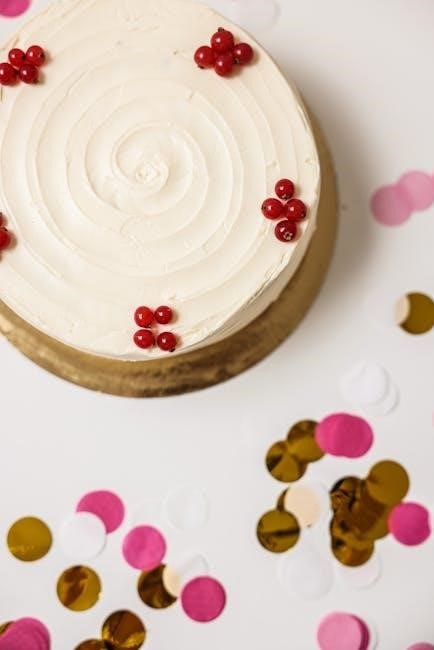
Understanding Cake Serving Sizes
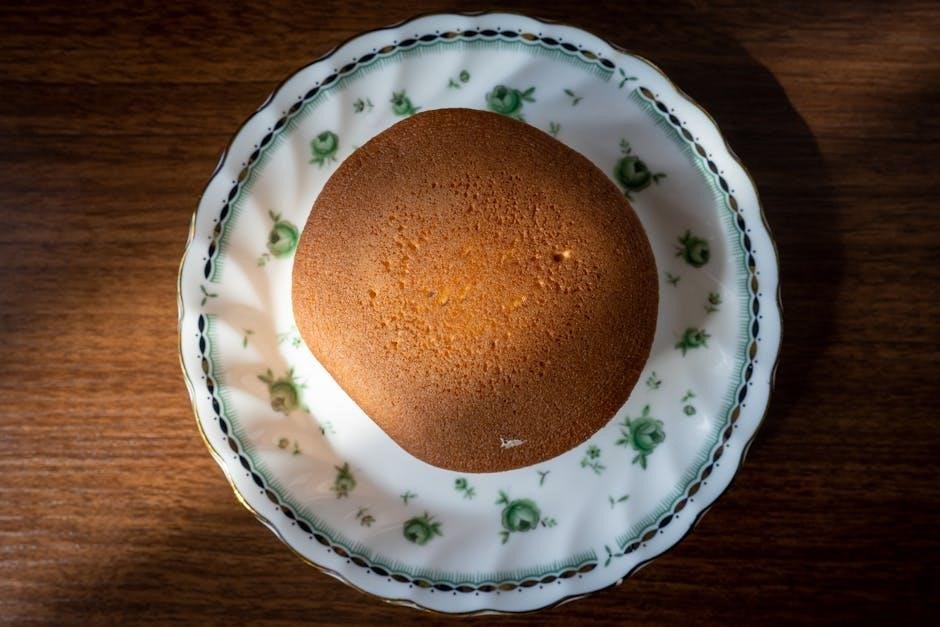
Determining appropriate cake serving sizes involves considering several factors beyond simply the number of guests. Traditional slices are typically around 1.5 x 2 inches, offering a generous portion, but modern trends lean towards smaller, more manageable dessert portions.
The density of the cake significantly impacts serving counts; a light and airy angel food cake will yield more servings than a dense chocolate fudge cake of the same diameter. Furthermore, if a buffet includes other desserts, reducing cake slice sizes is advisable.
Understanding these nuances ensures you order or bake a cake that comfortably accommodates your guests without excessive waste, creating a satisfying and enjoyable experience for all attendees. Careful planning prevents dessert disappointment!
Determining Cake Size Based on Guest Count
Selecting the right cake size hinges on your guest list; 6-inch cakes suit small groups, while 12-inch cakes are ideal for larger celebrations.
6-Inch Round Cake: Ideal for Small Gatherings
A 6-inch round cake is perfectly suited for intimate celebrations, typically serving 8 to 12 guests. This size is excellent for small families, close friends, or a cozy couple’s anniversary. It’s a manageable size for bakers who are newer to cake decorating, offering a less daunting canvas for creative designs.
Consider a 6-inch cake when you’re aiming for a personal touch without excessive leftovers. It’s also a fantastic option if you’re serving other desserts alongside the cake, ensuring a balanced spread. This size allows for a beautiful presentation without being overwhelming, and it’s often a cost-effective choice for smaller events. Don’t underestimate the impact of a perfectly crafted, smaller cake!
8-Inch Round Cake: A Popular Choice for Medium-Sized Parties
The 8-inch round cake strikes a wonderful balance, making it a consistently popular choice for medium-sized gatherings. It comfortably serves 12-16 people, ideal for family birthdays, office celebrations, or casual get-togethers with friends. This size offers ample space for decorative elements, allowing for more elaborate frosting designs and personalized touches.
An 8-inch cake is versatile enough to accommodate various flavors and fillings, from classic vanilla to rich chocolate. It’s a practical size that provides enough cake for everyone to enjoy a generous slice without creating excessive waste. It’s also a great option if you anticipate a few extra guests, offering a little buffer in serving size.
10-Inch Round Cake: Serving Larger Groups
When hosting a sizable event, a 10-inch round cake is an excellent choice, comfortably serving 20-24 guests. This size is perfect for milestone birthdays, larger family reunions, or more substantial parties where a generous dessert offering is desired. The increased surface area allows for more intricate cake decorations and stunning visual presentations.
A 10-inch cake provides a substantial centerpiece and ensures there’s enough to go around, even with second helpings! It’s a practical solution for avoiding the need for multiple smaller cakes. Consider this size when you know you’ll have a crowd eager for a sweet treat, offering a delightful experience for all attendees.
12-Inch Round Cake: For Big Celebrations
For truly grand occasions and exceptionally large guest lists, a 12-inch round cake is the ultimate choice, typically serving 32-40 people. This impressive size is ideal for weddings, large corporate events, or any celebration where a significant dessert centerpiece is desired. It makes a bold statement and provides ample servings for a crowd.
A 12-inch cake allows for elaborate designs, multiple tiers (if desired), and a truly show-stopping presentation. It’s a fantastic option when you want to make a lasting impression and ensure everyone has a chance to indulge in a delicious slice. Planning for leftovers is also wise with this generous size!
Cake Serving Chart: Detailed Breakdown
Explore our comprehensive charts outlining suggested serving sizes for 6, 8, 10, and 12-inch round cakes, ensuring perfect portions for your event!
6-Inch Round Cake Serving Chart
A 6-inch round cake is wonderfully suited for smaller, more intimate celebrations – think family dinners, cozy gatherings with close friends, or a special occasion for just a few. Generally, a 6-inch cake will comfortably yield between 8 to 12 servings, depending on how generously each slice is cut.
For standard dessert portions, aiming for 12 servings is a safe bet. However, if you anticipate guests having larger appetites or enjoying a more substantial slice, planning for 8 servings is more realistic. Consider the overall dessert spread; if other sweets are available, smaller cake portions are perfectly acceptable. This size is also ideal for a small birthday celebration or a quiet anniversary.
Remember to factor in potential seconds!
8-Inch Round Cake Serving Chart
An 8-inch round cake strikes a delightful balance, making it a popular choice for medium-sized parties and gatherings. This versatile size typically serves between 12 and 16 guests, offering a sweet treat for a comfortable group. The exact number of servings depends, of course, on the desired slice size.
If you’re aiming for standard dessert portions, 16 servings are achievable with careful cutting. However, for more generous slices, or if the cake is particularly rich and decadent, planning for 12-14 servings is more practical. Consider the context of the event – a casual birthday party might warrant larger slices than a formal afternoon tea.
This size is perfect for office celebrations or family get-togethers!
10-Inch Round Cake Serving Chart
A 10-inch round cake is an excellent choice when catering to larger groups, comfortably serving between 20 and 24 people. This size provides ample cake for a substantial gathering, ensuring there’s enough to go around for seconds – or for those with a particularly sweet tooth! As with other sizes, serving counts are estimates.
Standard dessert portions allow for 24 servings, while more generous slices will yield around 20. Consider the overall menu; if other desserts are available, guests may opt for smaller cake portions. A beautifully decorated 10-inch cake also makes a stunning centerpiece.
It’s ideal for milestone birthdays or moderately sized celebrations!
12-Inch Round Cake Serving Chart
A 12-inch round cake is truly designed for big celebrations! This substantial size typically serves a generous 28 to 32 guests, making it perfect for weddings, large birthday parties, or any event with a significant headcount. It’s a statement piece that’s sure to impress.
Similar to other sizes, serving estimations depend on portion size. Standard dessert portions allow for 32 servings, while larger, more indulgent slices will yield around 28. If a buffet of desserts is offered, guests may choose smaller portions of cake.
This size is a fantastic choice when you want to ensure everyone gets a piece and potentially have leftovers!
Serving Styles & Portion Sizes
Consider traditional slices versus smaller dessert portions; serving size is affected by other treats offered, influencing how much cake guests will consume.
Traditional Slice vs. Smaller Dessert Portions
Historically, cake has been served in generous, triangular slices, a classic presentation for celebrations. However, modern dessert trends often favor smaller, more manageable portions. This shift accommodates guests who may want to sample multiple desserts or prefer a lighter indulgence.
A traditional slice typically measures around 1.5 to 2 inches wide at the base, offering a substantial serving. Conversely, smaller portions, like those seen with dessert buffets or alongside other sweets, might be 1 to 1.5 inches wide.
Choosing between these styles depends on the event’s formality and the overall dessert spread. A formal wedding might warrant traditional slices, while a casual party could benefit from varied, smaller portions, allowing guests to explore different flavors without overindulging. Ultimately, consider your audience and the desired experience.
Factors Affecting Serving Size (e.g., other desserts)
Determining appropriate cake serving sizes isn’t solely about the cake itself; several factors influence how much each guest will consume. If a dessert buffet features numerous options – cookies, pastries, fruit, and other sweets – guests will naturally take smaller cake portions.
Conversely, if cake is the sole dessert offering, larger slices are expected. The time of day also matters; afternoon teas often feature dainty portions, while evening celebrations may call for more substantial servings.
Consider the preceding meal; a heavy dinner might reduce appetite for a large dessert. Finally, guest demographics play a role – children typically require smaller portions than adults. Adjusting serving sizes based on these factors ensures minimal waste and maximum enjoyment.
Cake Layers and Serving Adjustments
Multi-layered cakes, with fillings and increased height, may yield slightly fewer servings compared to single-layer cakes of the same diameter, so plan accordingly.
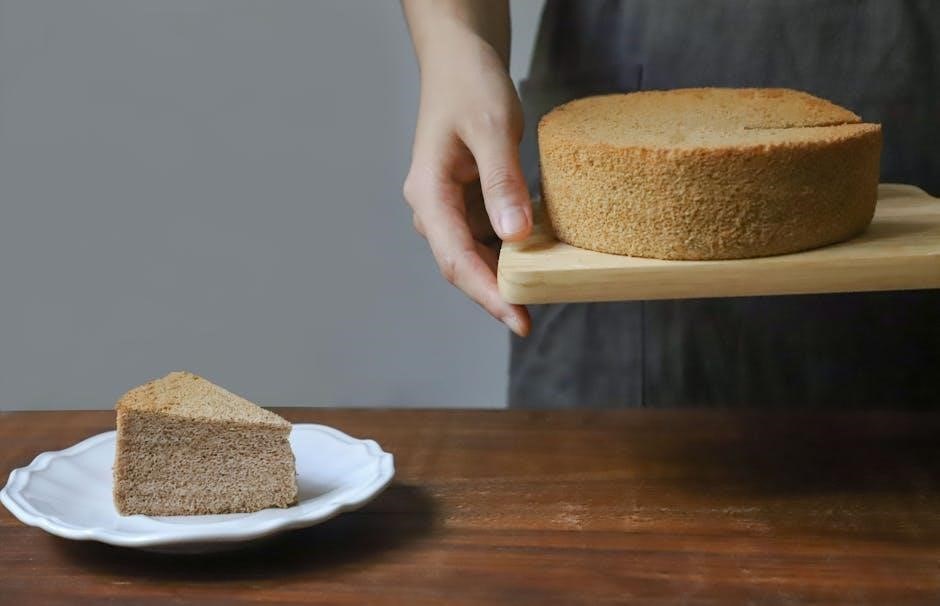
Single-Layer Cakes: Simpler Serving
Single-layer round cakes present the most straightforward serving calculations. Because there’s no filling to account for, the serving size is directly related to the cake’s diameter and desired slice size. Generally, a standard serving is considered to be a wedge with a point angle of approximately 45 degrees. This allows for neat, even slices and ensures a reasonable portion for each guest.
For example, a 6-inch single-layer cake typically yields 8-12 servings, while an 8-inch cake can comfortably serve 12-16 people. Remember that these are estimates, and actual servings may vary based on individual appetites and how generously the slices are cut. When serving, a sharp knife and a rotating cake stand can greatly assist in achieving clean, professional-looking slices. Consider marking the cake beforehand to ensure consistent portion sizes.
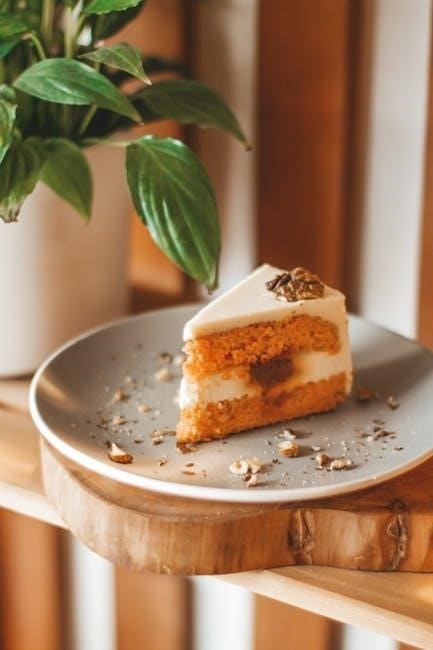
Multi-Layer Cakes: Adjusting for Height & Filling
Multi-layer round cakes require a slight adjustment to serving estimations. The addition of filling and increased height significantly impacts the overall volume and potential servings. While the base diameter remains a key factor, you must consider the cumulative effect of each layer. A general rule is to increase the serving count by 20-30% compared to a single-layer cake of the same diameter.
For instance, an 8-inch three-layer cake with generous filling could easily serve 18-24 people. The type of filling also matters; denser fillings like buttercream will yield smaller servings than lighter mousses. Precise serving counts are challenging, but careful slicing – ensuring each slice includes a proportionate amount of cake and filling – is crucial for guest satisfaction.
Cake Density & Serving Counts
Cake density dramatically affects portion sizes; light, airy cakes allow for larger servings, while dense cakes, like pound cake, require smaller, richer portions.
Light & Airy Cakes (Angel Food, Chiffon)
Angel food and chiffon cakes, celebrated for their delicate textures and ethereal lightness, present unique serving considerations. Due to their airy structure, these cakes naturally yield more servings per cake size compared to denser varieties. A 6-inch round can comfortably serve 12-16 people, while an 8-inch expands to 16-20.
The substantial volume created by whipped egg whites and minimal fat allows for generous portions without feeling overly rich. However, remember that these cakes often pair beautifully with fresh fruit and light sauces, which can influence individual serving sizes. Consider offering smaller slices if accompanied by other desserts or a full meal. Their delicate nature also means they are often enjoyed as a lighter dessert option.
Dense Cakes (Pound Cake, Chocolate Fudge)
Dense cakes, like rich chocolate fudge or classic pound cake, require a different approach to serving size estimations. Their substantial weight and intense flavors mean smaller portions are generally preferred to avoid overwhelming the palate. A 6-inch round typically serves 8-10 people, while an 8-inch yields 10-14 servings.
These cakes are incredibly satisfying, so guests often require less to feel content. Consider the richness of the cake when planning alongside other desserts; a smaller slice allows room for variety. Dense cakes also hold up well to accompaniments like whipped cream or berries, which can enhance the overall experience without drastically increasing portion sizes. Remember, quality over quantity is key!
Special Considerations: Wedding Cakes
Wedding cakes, often tiered, demand careful planning! Serving counts must account for potential favors, leftovers, and the celebratory nature of the event.
Wedding Cake Serving Guide – Tiered Cakes
Tiered wedding cakes present a unique serving challenge, requiring a slightly different approach than single-layer round cakes. Generally, a three-tiered cake can comfortably serve 100-150 guests, assuming standard 1×1 inch slices. However, this is a broad estimate, heavily influenced by tier sizes and desired portion generosity.
Consider the overall dessert spread; if multiple options are available, smaller cake portions are acceptable. A common guideline suggests 1-2 servings per guest, factoring in potential second slices or those who prefer other treats. Accurately calculating servings ensures a delightful experience for all attendees, avoiding shortages or excessive waste; Remember to consult with your baker for personalized recommendations based on your specific cake design and guest count.
Accounting for Favors & Leftovers
Beyond guest servings, factor in potential wedding favors involving cake – small boxed slices are a popular choice. Allocate approximately 5-10% of the total cake for these favors, depending on your guest list and favor plans. Don’t forget to anticipate leftovers! Many couples desire to keep the top tier for their first anniversary, requiring a dedicated portion.
Adding an extra 5-10% to your initial serving estimate accommodates unexpected guests or those wanting second slices. Careful planning minimizes waste and ensures a memorable experience. Consider donating any significant remaining cake to a local charity or shelter, spreading the joy beyond the celebration.
Beyond the Slice: Alternative Serving Methods
For variety, consider charming cake pops or mini desserts alongside the round cake, or opt for individually portioned cupcakes for easy enjoyment!
Cake Pops & Mini Desserts
Elevate your dessert spread by incorporating delightful cake pops and miniature desserts alongside your round cake. These bite-sized treats offer a playful alternative, providing guests with variety and portion control. Cake pops, crafted from crumbled cake and frosting, coated in chocolate, are visually appealing and easy to handle.
Mini desserts, such as cheesecakes, tarts, or mousse cups, add sophistication and cater to diverse preferences. They’re particularly useful for guests who prefer smaller indulgences or want to sample multiple flavors. Utilizing these options complements the main cake, reducing potential waste and enhancing the overall dessert experience. A well-rounded dessert table ensures there’s something for everyone to savor!
Cupcakes as a Serving Alternative
Considering cupcakes as an alternative to a traditional round cake offers convenience and individual portion control. Cupcakes eliminate the need for cutting, simplifying serving and minimizing mess. They also allow for a wider range of flavor combinations, offering guests more choices without requiring multiple cake layers.
Decorated cupcakes can be visually stunning, mirroring the aesthetic of a layered cake. They’re especially practical for events with varying guest counts, as you can easily adjust the number of cupcakes baked. Furthermore, cupcakes are portable and easy for guests to enjoy while mingling. This approach provides a delightful and fuss-free dessert option, perfectly suited for casual gatherings or larger celebrations.